

#1-3-SBHS Sizes 1/32″ to 3/32″
Application: Copper Oval Sleeves, Copper Oval plated sleeves, and Aluminum Oval Sleeves (WILL NOT DO STOP SLEEVES) SLEEVE SIZES: 1/32″, 3/64″, 1/16″and 3/32″
To open hand swager, squeeze handles hard or push release lever (figure 1) forward while squeezing handles to relieve tension. First identify the cable size and select the proper size sleeve. Place the sleeve on the cable and make a loop around the item to which you are securing the cable. Next, insert cable end through the sleeve and at least 1/8″ or more beyond (figure 4). After swaging, excess cable may be cut off with our FELCO C7 cutters. Then select proper size Cavity (marked on the tool jaw). While holding sleeve in place, swage 1/3 to 1/2 of sleeve or one compression. Move over and swage remainder (second compression). Two compressions are required. The tool won’t release until compression is complete. Check sleeve for proper after swage diameter with gauge provided. The clamping action of the ratchet allows the sleeve to be held by the tool before completing the swage. This allows for the user to adjust position of sleeve on the cable. If tool adjustment is required, read Swager Maintenance and Adjustment below.
SWAGER OPERATION INSTRUCTIONS
To open tool, squeeze handles hard or push release lever forward while squeezing handles to relieve tension.
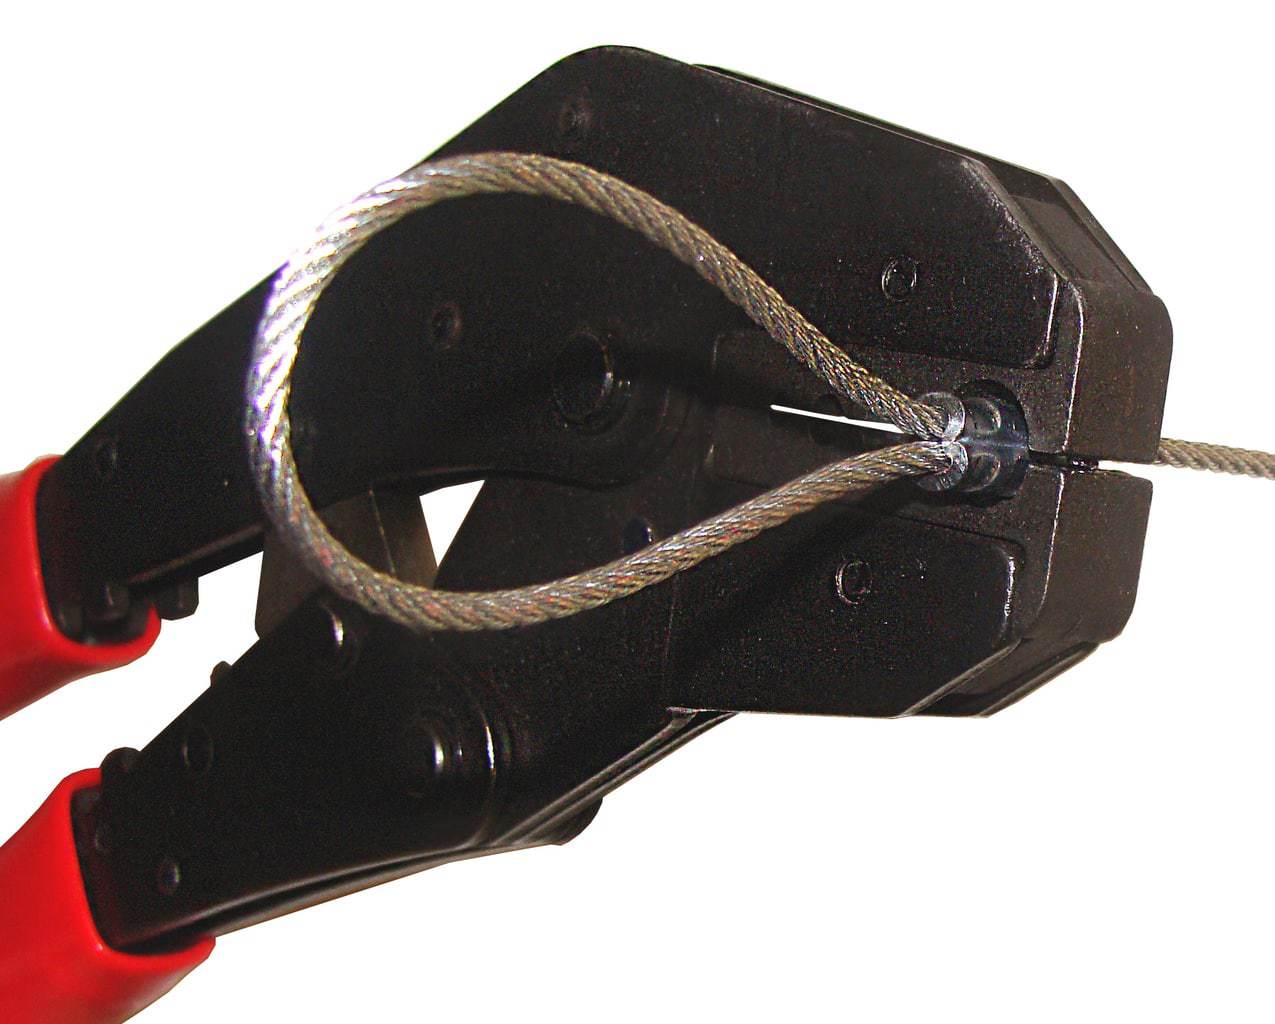
Place sleeve to be compressed in proper cavity of swaging tool. Length of cable equal to the cable diameter should extend beyond length of sleeve to achieve maximum holding. (See arrow in figure 4).
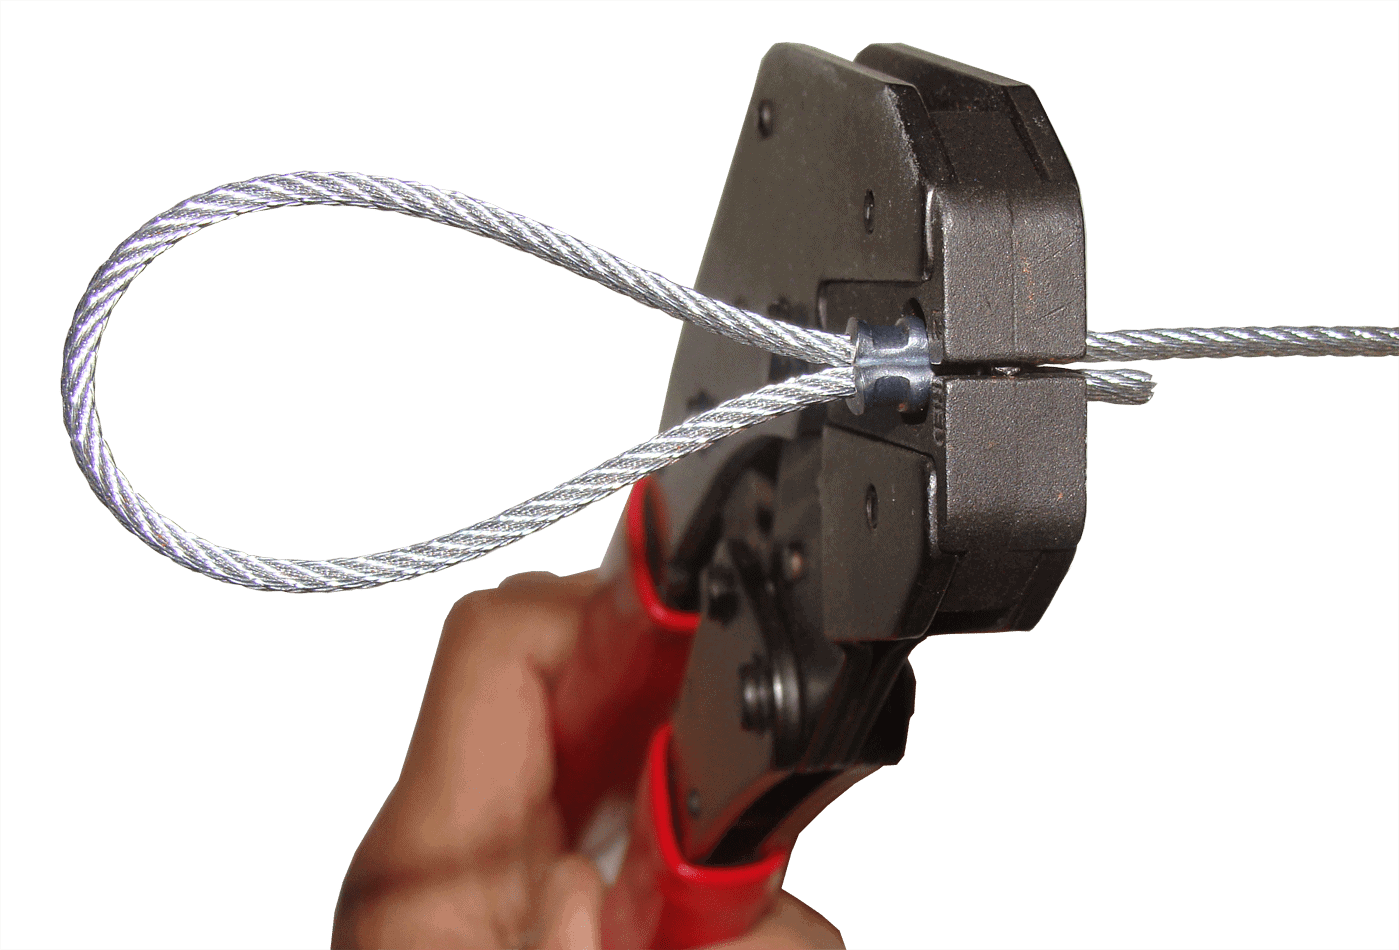
Keep jaws of swaging tool at right angles to the sleeve to be compressed, making sure the sleeve is aligned in the jaw cavity. Close tool completely or use the clamping action of the ratchet to allow the sleeve to be held by the tool before competing the swage. This allows the user to adjust position of the sleeve on the cable. Tool handles will not open until the handles close completely.

Use Swaging gauge provided with the tool to check proper after swage diameter. Compressed sleeve should slide freely into size slot of gauge.
SWAGER MAINTENANCE AND ADJUSTMENT
Your Loos & Co. LOCOLOC® Swager has been designed to give you years of trouble free service. To obtain the best possible performance, we recommend: (1) clean and lubricate all four hinge pins regularly; (2) keep all bolts and screws tight; (3) keep your swager properly adjusted using the following simple procedure:
Each LOCOLOC® Swager is supplied with a gauge. Select the slot in the gauge corresponding to the sleeve size being compressed. The compressed portion of the sleeve should pass into the gauge easily. If it does not, then adjust your hand swager as follows:
Tool adjustment: Use a 2.5mm allen wrench to remove the socket head bolt (Figure 6) from the adjustment tab on lower handle. Replace socket head screw to secure. Swage and check sleeve with gauge again. Over adjustment will cause the socket head adjustment bolt to break
Tool adjustment: To increase tension move the adjustment tab counterclockwise and one slot only (Figure 7). Replace socket head screw to secure. Swage and check sleeve with gauge again. Over adjustment will cause the socket head adjustment bolt to break